
Start with the garment and the purpose of the order
Before anyone writes down a size, decide exactly what is being ordered. A T-shirt fit is not the same as a hoodie, and a playing top will not fit like a promotional tee. The right size collection method depends on whether the clothing is for school sport, a club trip, a corporate event, or staff wear.
Use the same garment type for the whole group where possible. If you mix cut styles or different fabric weights, people will compare one sample to another and the numbers will become messy very quickly. For bulk orders in the Kouga area this is especially important because groups often place one order for several age groups or departments.
- Confirm the item type first: T-shirt, hoodie, cap, team kit or event wear.
- Confirm the fit style: standard, relaxed or athletic.
- Decide whether sizes are needed for adults, youth or both.
- Check if the order needs one size run or mixed sizes in one carton.
Use a simple size sheet that people can understand
The easiest size collection sheet is the one people actually fill in properly. Keep it plain: name, contact person, garment type, size and quantity. If the group is large, add a column for school house, team name, class or department so there is no confusion later. A neat sheet saves a lot of phone calls once the order is in production.
If you are collecting sizes from parents or club members, send one clear template and ask for all responses by the same cut-off date. For coastal orders in Jeffreys Bay and St Francis Bay, late changes often happen because people leave it to the last minute before a tournament or holiday programme, and then the print run gets delayed.
- Name and surname
- Garment item
- Size required
- Quantity per size
- Special notes, such as ladies fit or youth cut
Keep the sheet in one format only. If some people send WhatsApp messages, others send handwritten notes and someone else phones in sizes from the bakkie, you will spend extra time checking everything.
Measure the body, not the old shirt
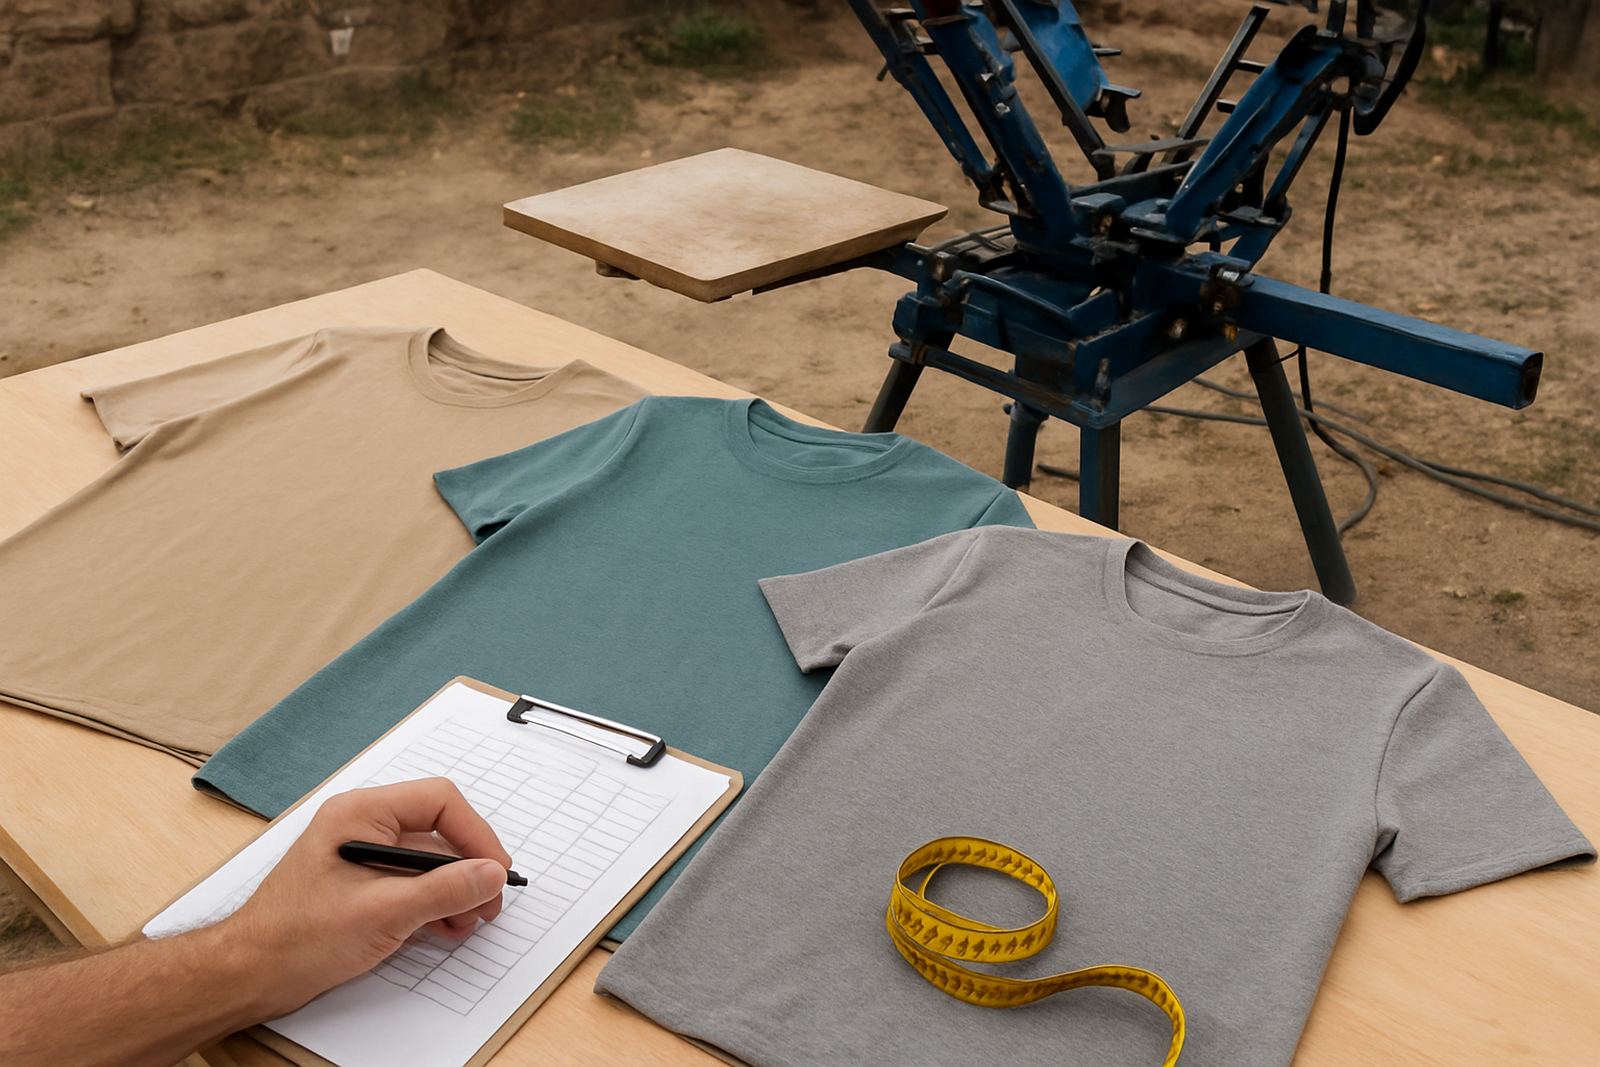
When in doubt, measure the person rather than guessing from an old shirt. Old garments can shrink, stretch or be worn loose for comfort. That is why a measured chest width and length are much safer than saying, “I’m usually a medium”.
Lay a T-shirt flat on a table and measure across the chest from armpit to armpit, then measure from the highest shoulder point down to the hem. For hoodies, allow extra room for layers underneath. For juniors and school groups, ask for age plus actual size so there is a backup check if the child is between sizes.
In the Eastern Cape, especially with school and sports orders, it helps to measure a sample from a child or adult who already has the right fit. That gives the group a real reference point instead of relying on memory.
- Chest width for T-shirts and hoodies
- Length from shoulder to hem
- Sleeve length for long-sleeve items
- Head size for caps if the fit is adjustable
Collect group sizes without creating confusion
For schools, churches, clubs and event teams, collect sizes in one go and appoint one person to verify the final list. The more people edit the order, the more likely it is that a size gets entered twice or forgotten completely. One point of contact keeps things tidy and gives a clear approval trail.
If the order includes mixed age groups, split the list into children, youth and adult sections. That makes packing easier and reduces mistakes on the day of collection. For repeat orders, keep last season’s list handy because many groups only change a few sizes from year to year.
- Use one coordinator per group
- Set a final deadline for size returns
- Sort the list by garment and size
- Mark urgent items clearly if they need to be ready for an event date
A clean list also helps when you need folding and bagging, or bulk packing for distribution at a school or club venue.
Allow for printing space and garment movement
Some people collect sizes only, then forget that print placement can affect the feel of the garment. A large back print, sleeve print or oversized front design may need a little more room than a plain shirt. If the wearer likes a loose fit, it is wise to go one size up rather than squeeze the artwork onto a tight garment.
For hoodies and winter items, allow for layering because mornings in Jeffreys Bay and Gqeberha can be cool and windy, then warm up by midday. If the clothing is for a school, club or fishing crew working near the coast, comfort matters just as much as appearance. Humid conditions can also make tighter garments feel less comfortable after a full day of wear.
Ask whether the group wants a standard fit or a slightly generous fit. That single question can prevent awkward exchanges later on.
Do a final check before production starts
Before the order goes to print, go through the list line by line. Check totals, sizes, spelling of names if they are being printed, and whether the number of garments matches the budget. A final check catches small mistakes that can otherwise cost time and extra printing fees.
It is also worth confirming colour choices and whether any items need colour matching to school or club references. If the order has a sample strike-off, make sure the approved sample matches the final list before the full run starts. Once production begins, changes become more expensive and may push collection dates out.
- Verify the total quantity
- Check the size run against the budget
- Confirm print placement and colours
- Approve artwork setup before printing begins
Our team in the Jeffreys Bay industrial area handles repeat order support for schools, clubs and local businesses across Kouga, so keeping that final check clear makes the whole process easier.