What Sleeve Printing Adds To A Garment
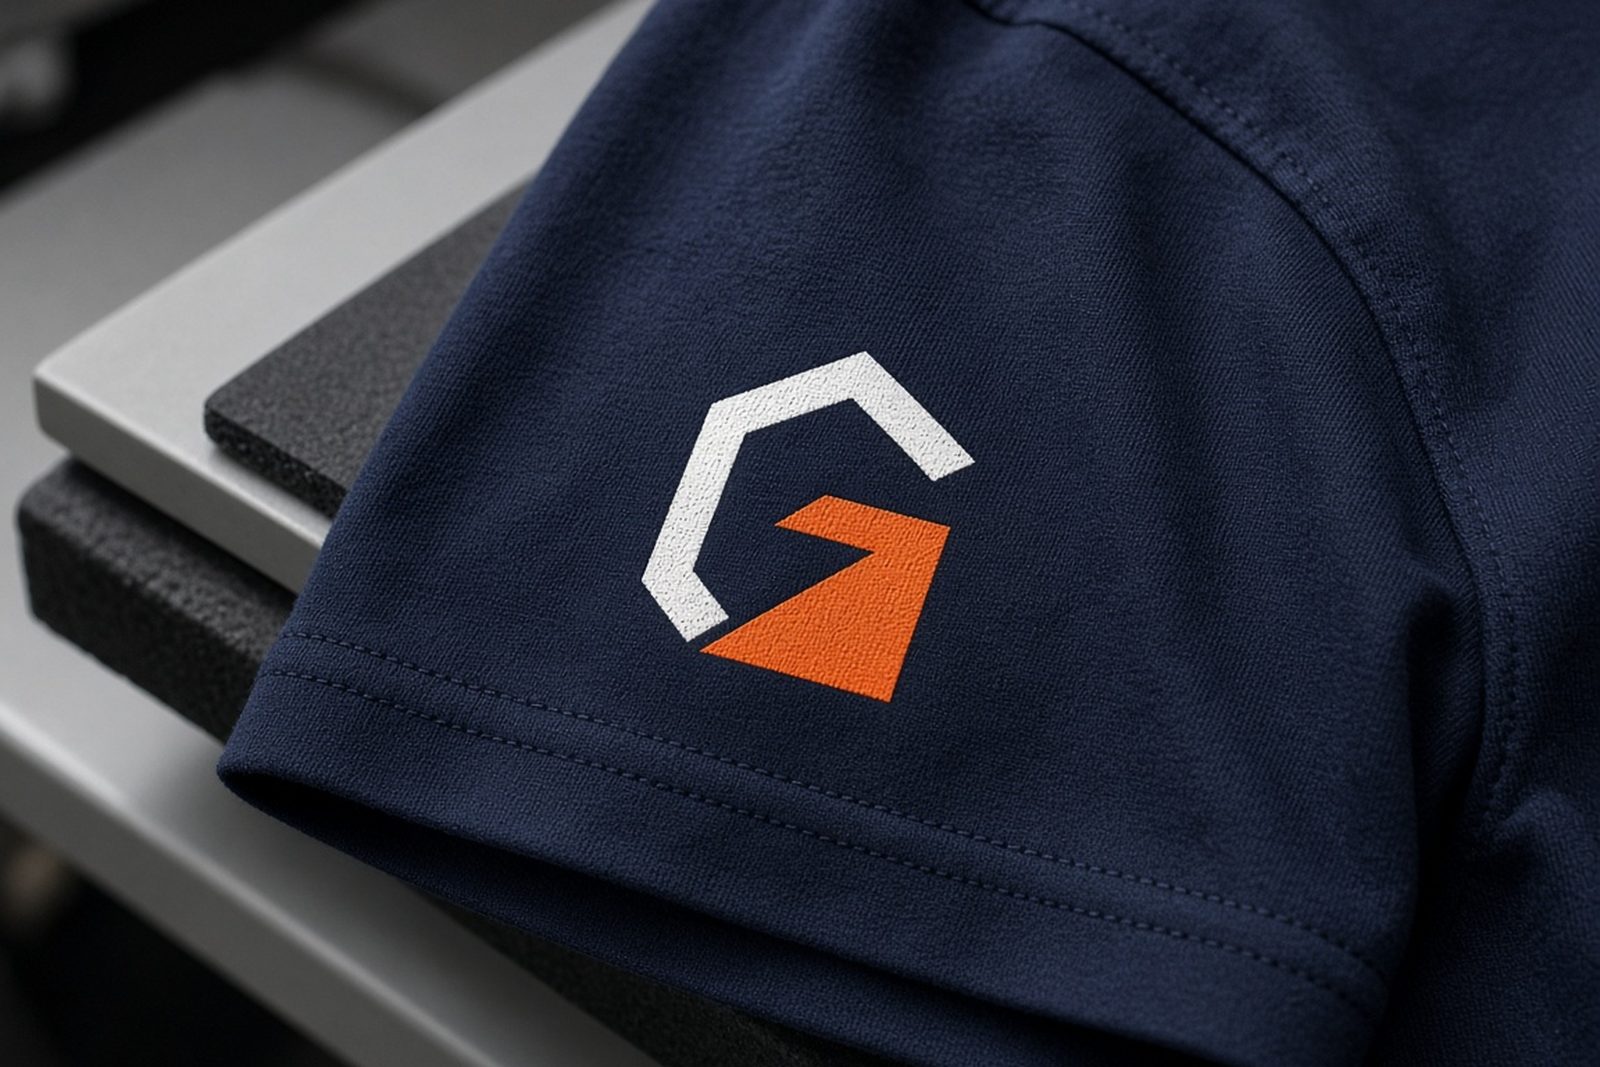
Sleeve prints work well when the front and back of a garment are already in use, or when you want a more retail-style finish. They are common on T-shirts, hoodies, crew jerseys, promotional wear and team kit where the sleeve can carry a sponsor line, event name, player number, staff role or subtle brand mark.
In Jeffreys Bay and along the coast, many clients choose sleeve printing for clothing that needs to look neat after repeated wear, washing and folding. It is a practical option for surf clubs, school groups, hospitality staff and local businesses that want a consistent uniform without overloading the chest or back with too much copy.
- Left sleeve or right sleeve printing available
- Single colour or multi-colour artwork depending on design
- Suitable for cotton, cotton blends and selected synthetics
- Clean placement for logos, names, numbers and short text
Garments We Print On And Size Guidelines
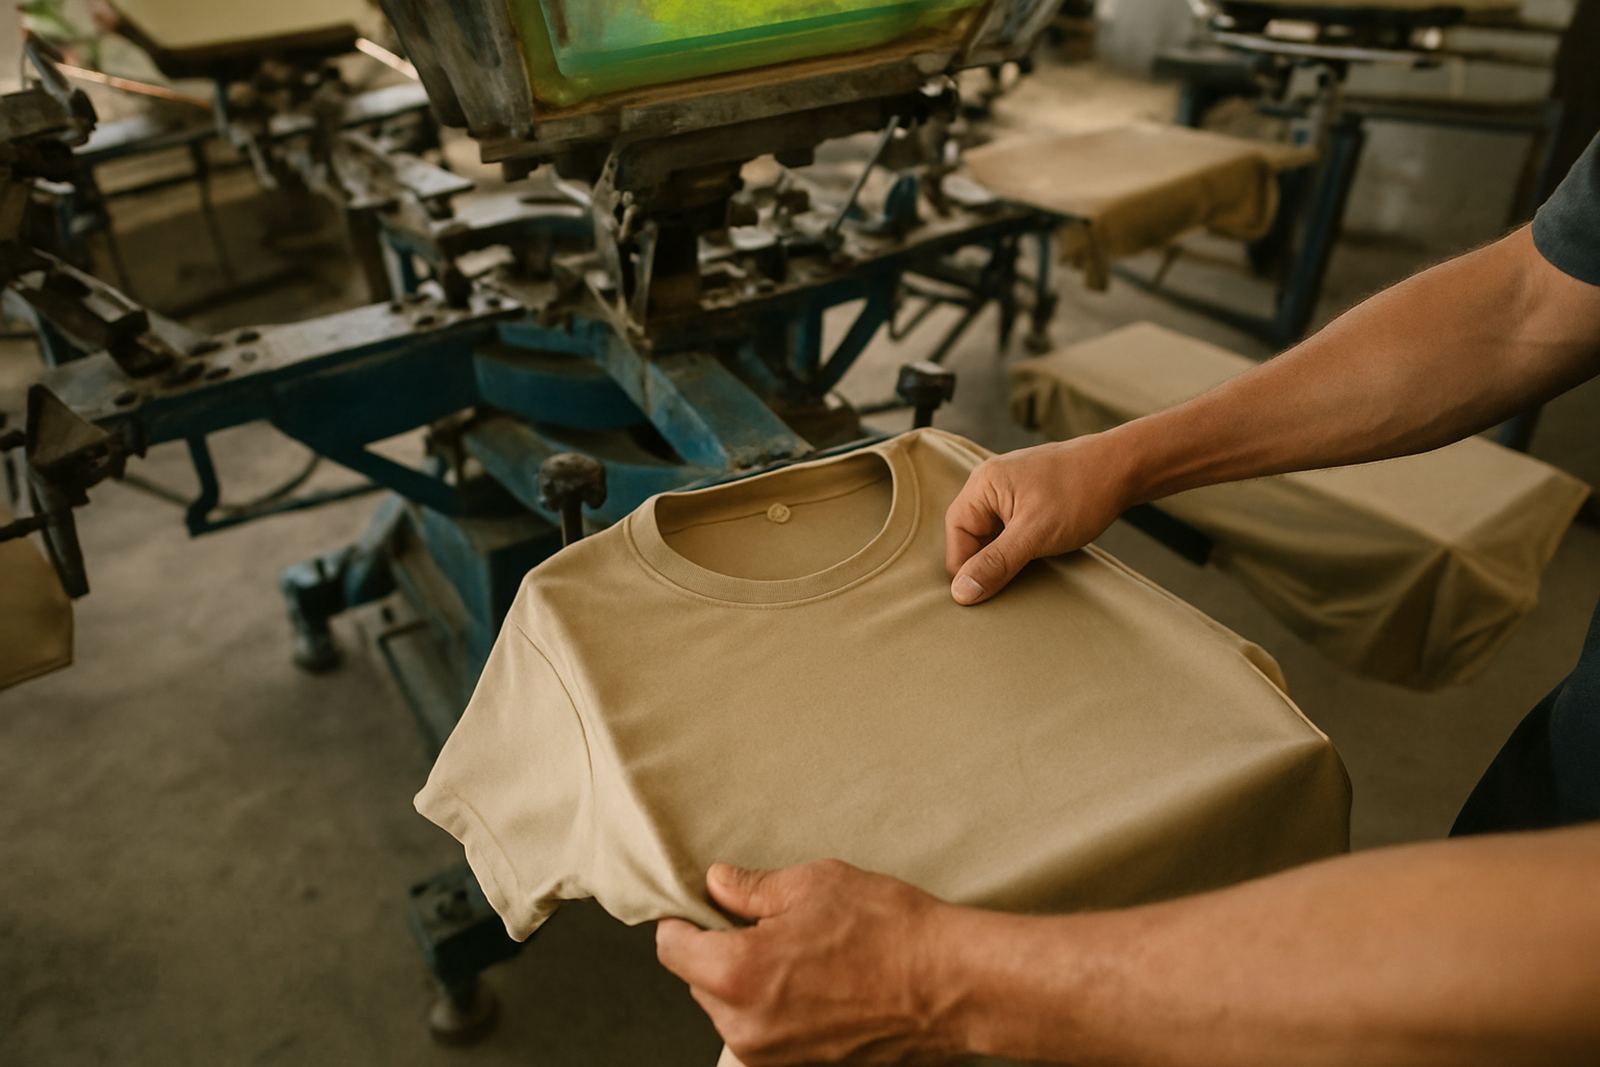
We handle sleeve printing on a wide range of garments, but the sleeve shape and fabric matter. A slim fashion tee, a thick hoodie and a performance shirt all behave differently on the press, so artwork setup must suit the garment before production starts. That saves time and helps the print sit straight on the arm.
For standard adult garments, sleeve print areas usually sit between 70 mm and 100 mm high, with lengths from 80 mm to 280 mm depending on the artwork and size of the sleeve. On kidswear we reduce the size so the print stays balanced and comfortable. For oversized sleeves or relaxed-fit hoodies, we can often allow a longer print area, but the exact space depends on seam position and cuff shape.
- T-shirts and long sleeve tees
- Hoodies and crew neck sweaters
- Sports tops and training shirts
- Aprons and selected workwear tops
We also check whether the sleeve can handle the press without distortion. Stretch fabrics, rib cuffs and thick seams need careful handling so the print does not twist or lose detail. If your garment has a strong texture or a very narrow arm opening, we may suggest a simplified artwork version for better finish.
How We Set Up Your Sleeve Artwork
Sleeve printing needs artwork that is set up with the garment in mind, not just copied from a chest logo. Text must be readable when placed on a narrow panel and small details need enough line weight to survive the press and the wash. If your design includes a sponsor list, name and number, we will arrange the layout so the spacing looks tidy and balanced.
Our artwork process includes checking size, print position and colour count before the job goes to press. If needed, we prepare a sample strike-off so you can confirm placement on the actual garment type. That is useful for school orders, club kit and repeat runs where the sleeve print has to match earlier batches exactly.
- Artwork setup for sleeve width and seam position
- Colour matching for brand consistency
- Sample strike-offs where the job needs sign-off
- Repeat order support for reprints and top-ups
We also keep an eye on legibility. A sleeve is smaller than a back print, so too many words can crowd the space. When that happens we help reduce the copy to the essentials, which usually gives a better result and costs less to print.
Printing Process At Our Jeffreys Bay Base
Work is handled from our Jeffreys Bay industrial area base, where we prepare garments, separate artwork colours, set the screens and check ink alignment before production starts. Sleeve printing is done with care because even a small shift can show when the garment is laid flat or worn. We keep the set-up tight, especially on repeat orders and bulk runs.
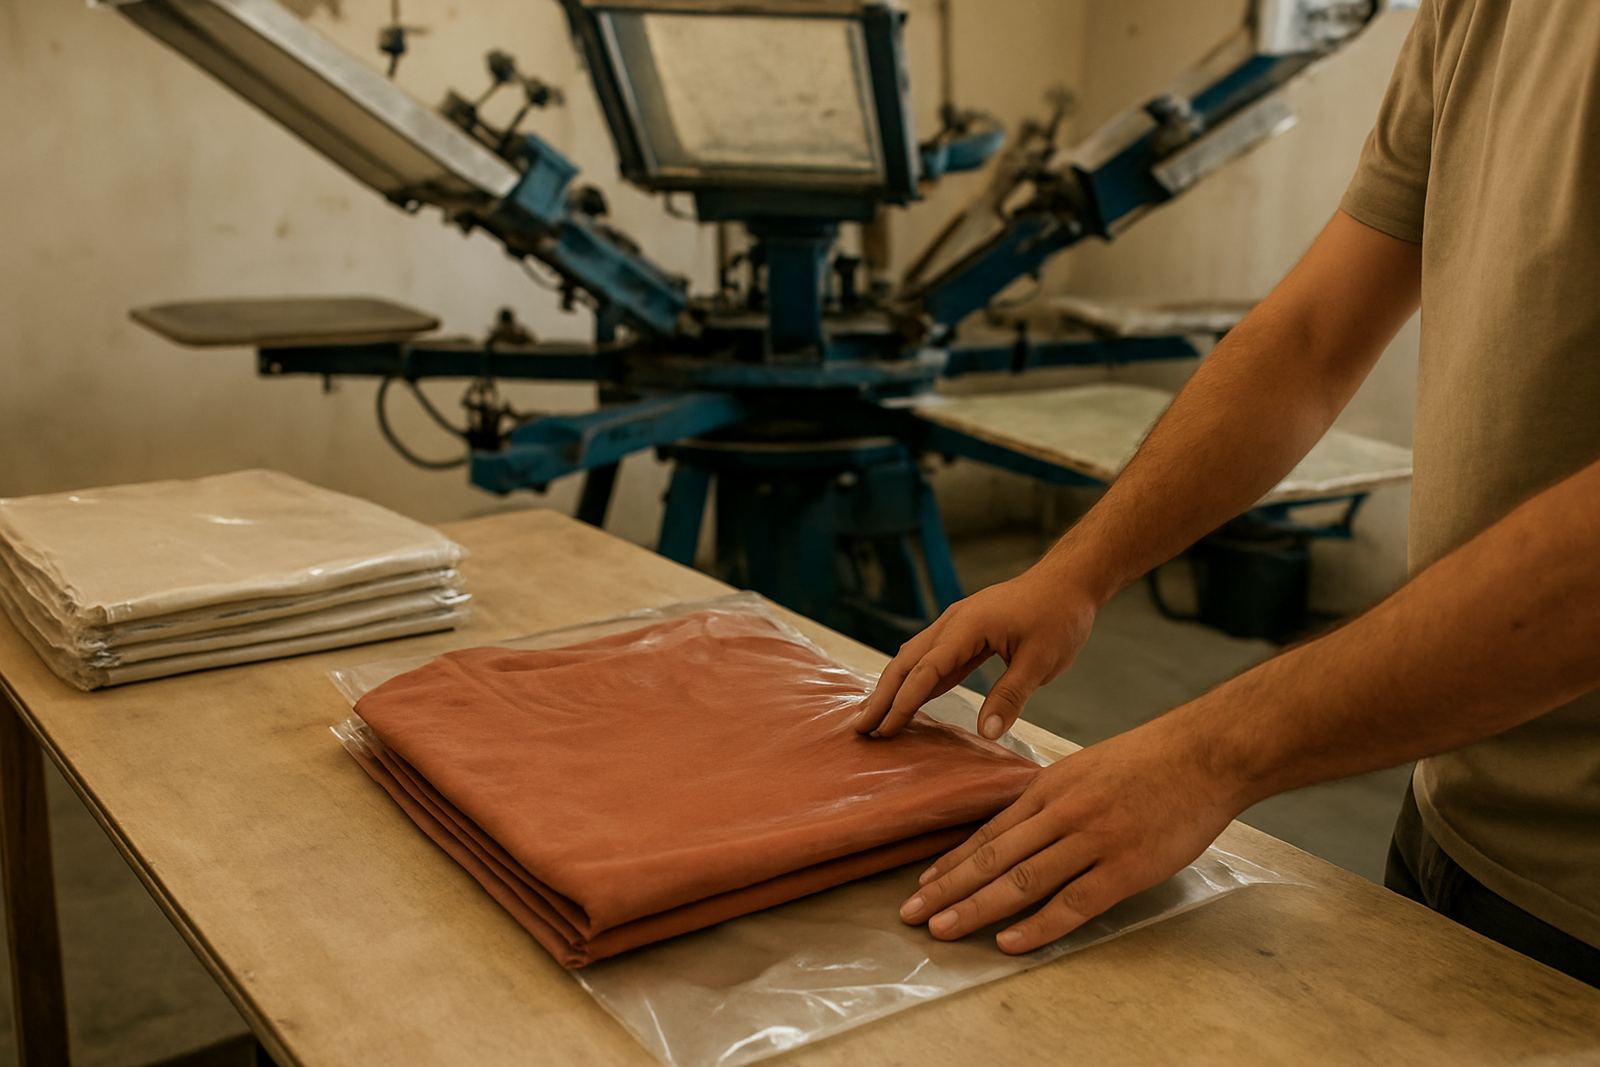
The process normally follows these steps: approve the artwork, confirm garment sizes, position the sleeve print, run the sample if needed, then print and finish the garments through folding, bagging or bulk packing. If the order is for staff wear or event kit, we can keep sets together by size or department, which makes distribution easier on your side. That helps a lot when a school or club is ordering for a whole group.
- Step 1: Send your enquiry through the contact form
- Step 2: Confirm garment type, sizes and print position
- Step 3: Approve artwork or sample strike-off
- Step 4: Print, finish and pack for collection or delivery
Because we work in a coastal area, we also pay attention to storage and handling. Humidity can affect garment feel and drying times, so the process is managed to keep the print clean and the finish consistent. That matters in Jeffreys Bay where weather can shift quickly and garments may be handled in warm or damp conditions.
Turnaround, Pricing And Order Sizes
Turnaround depends on the order size, garment type and whether artwork needs setup or approval. Small runs can often move quickly once the design is confirmed, while larger jobs need scheduling around screen prep, drying and finishing. If you have a deadline for an event, school function or club launch, tell us early so we can plan the production slot properly.
Pricing is based on print size, number of colours, garment count and how much setup the job needs. A simple one colour sleeve print is usually more affordable than a multi-colour sleeve with fine detail or repeated positions on both arms. For bulk orders, the unit cost generally improves as quantities go up, which suits teams, schools and businesses placing regular repeat orders.
- Lower setup cost for simple one colour prints
- Better unit pricing on higher quantities
- Quotes shaped by print size, colours and garment type
- Repeat orders can use saved artwork and placement notes
We keep pricing practical for customers in Jeffreys Bay, Humansdorp, St Francis Bay, Oyster Bay, Kareedouw and Gqeberha. If your order has mixed sizes or mixed garment types, we quote it clearly so you know where the costs sit before you commit.
Care, Wash Cycles And Reprint Planning
Sleeve prints last best when the garment is washed correctly and not overtreated with heat. For screen printed sleeves, we suggest cold or cool washing, turning the garment inside out and avoiding direct iron heat on the print. Tumble drying can shorten print life on some fabrics, so air drying is a safer choice for workwear and club kit.
For frequent use items such as staff shirts, event tops and training wear, it helps to inspect the garment after about 20 to 30 wash cycles. If the print is rubbing on cuffs, cracked from over ironing or fading due to heavy wear, a repeat order may be due. That is especially useful when a team needs fresh top-ups for new members or when a business wants to keep uniforms matching across seasons.
- Wash inside out with cool water where possible
- Avoid direct iron heat on the print area
- Do not stretch the sleeve while still hot from drying
- Plan repeat orders before the original batch fades or wears thin
Good care helps the sleeve print hold its shape, colour and readability. For coastal clients this matters even more because salt air, sun exposure and regular washing can wear down garments faster than inland use. If you need a fresh run later, we can match the earlier style closely so the new stock blends in with the old.
Key facts
| Print area | Typically 70 mm to 100 mm high, length up to 280 mm depending on sleeve and artwork |
|---|---|
| Colour options | One colour or multi-colour prints, subject to artwork and garment type |
| Suitable garments | T-shirts, long sleeves, hoodies, crew jerseys, selected workwear and sports tops |
| Artwork support | Artwork setup, colour matching and sample strike-offs available |
| Order types | Small runs, bulk orders and repeat order support |
| Service areas | Jeffreys Bay, Humansdorp, St Francis Bay, Cape St Francis, Oyster Bay, Kareedouw, Gqeberha and Kouga |